Registering an entity
Link: https://registry.mds.gbrrestoration.org/registerentity
Required Permissions
- Registry Read
- Registry Write
Process
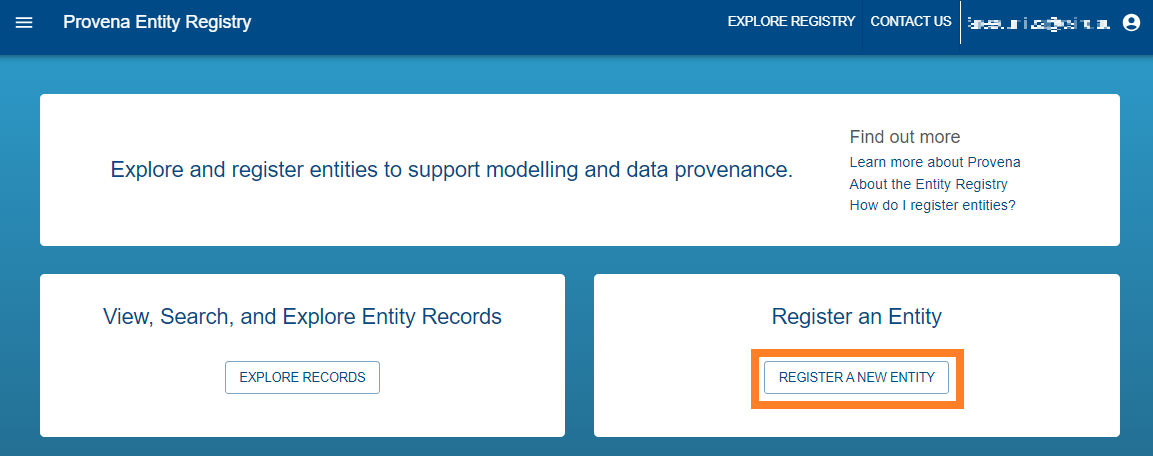
Step 1. Navigating to the Register Entity page
From the home page of the Registry, click the “Register a new entity” button, as shown below:
| Register a new entity |
|---|
 |
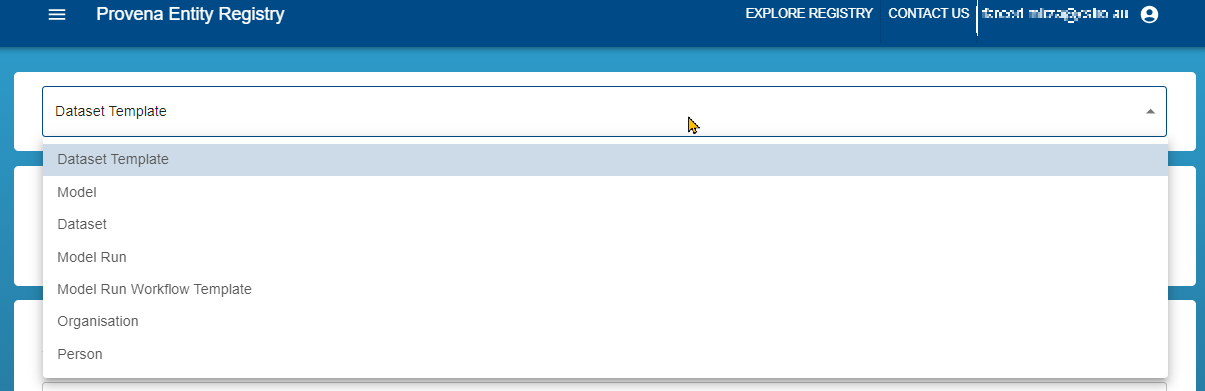
Step 2. Selecting an Entity Type
At the top of the page, you can select the entity type from the dropdown. Simply click on the dropdown and click on the desired type:
| Select an entity type |
|---|
 |
Step 3. Filling out the form
Once you have selected your entity type, the updated form will load.
Form fields will provide guidance on what is expected underneath the input field, for example:
| Form caption |
|---|
 |
Form fields can be of various types:
- Text: Text fields are either single or multi line input boxes. Simply click inside the box and type the desired text.
- Selection: Some fields allow selection from a predefined list of inputs - click the dropdown and select the desired item from the list.
- Yes or No: Yes or no (boolean) fields are displayed as a check-box. To indicate “yes” or “true”, tick the box. Otherwise, leave the box unticked.
- List: Some fields contain a list of items. To add an item to the list, use the “+ Add Item” button. To remove the item, use the “-“ button on the right hand side. Both buttons are shown below.
| Add item |
|---|
 |
| Remove item |
|---|
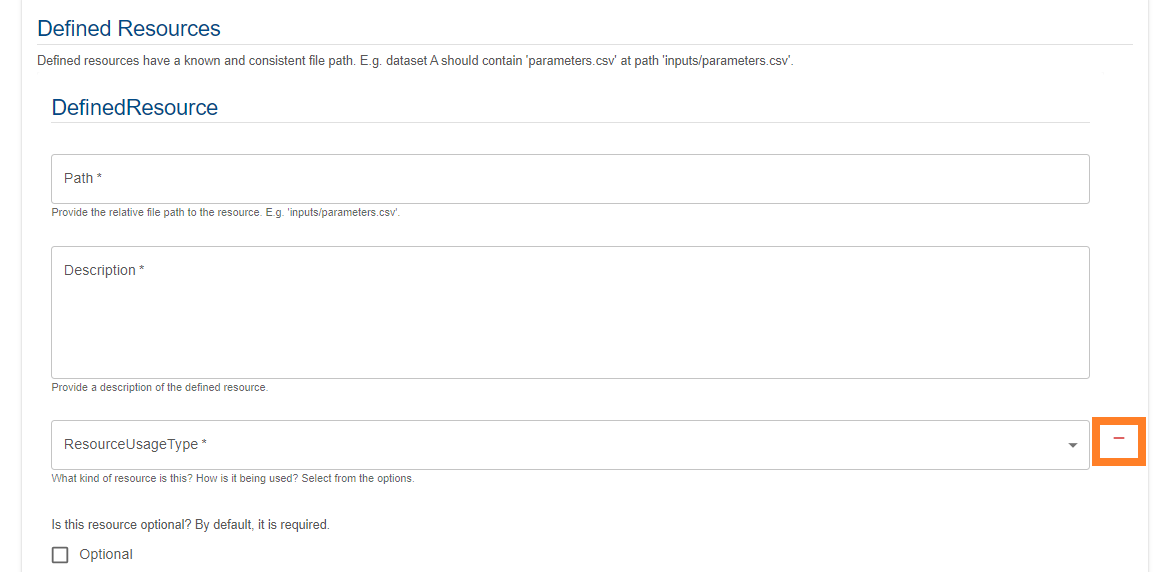 |
- Key Value Pairs: Some fields are composed of key, value pairs. To add and remove key value pair items, use the ‘+’ and ‘-‘ icons as in the list example above, entering a key and value where indicated.
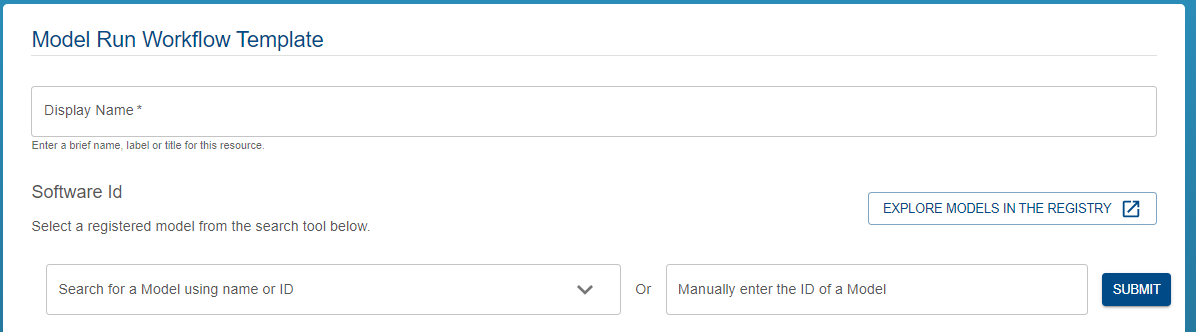
- Other Entities: Some entity types require references to other registered entities. To help this process, the form allows you to search for resources of a specific type based on their properties. You can search by name, ID, or other fields. For example, when registering a “Model Run Workflow Template” you can select a model by typing a search query into the input field, selecting your desired result, and clicking it in the list. To clear your selection, use the “Clear Selection” button that appears after selection.
| Selecting other entities |
|---|
 |
Custom User Metadata
All items in the registry allow for the optional inclusion of key value pair metadata which is useful for your application. The “Custom User Metadata” field will always be located at the bottom of the form, and is optional. If you would like to include additional custom annotations to describe your resource, tick “Include Custom User Metadata” and then click the “Add a new entry” plus icon to add a row. Your metadata is composed of a set of key value pairs. Click and enter a key, and value, for example “my_special_resource_id” and “1234”. You can add another row using the plus icon on the right, or remove an entry using the red minus sign on the right. To remove all custom metadata, untick the “Include Custom User Metadata” box.
Step 4. Submitting the form and handling errors
Once you have completed the form, use the “Submit” button at the bottom of the page to register the entity.
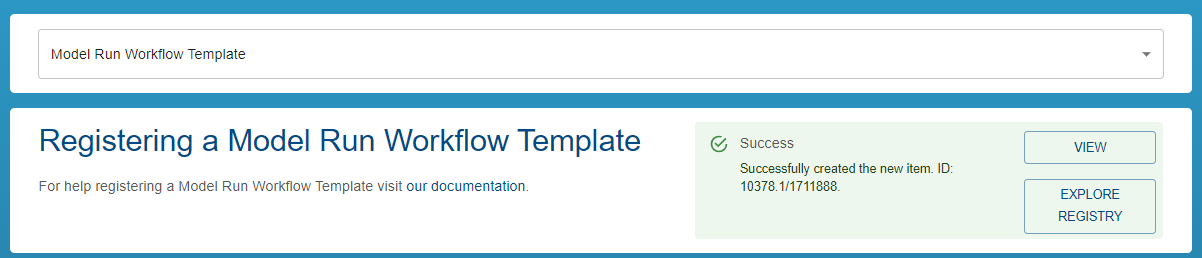
If there were no validation errors in the form, you will receive a success alert:
| Form success |
|---|
 |
If there were form validation errors, or another issue occurred, you will see an error indication either on the field itself (such as when a field is not completed), or at the top of the page (when more detailed validation catches an error after submission). In this case, the format of the URL did not include the required “https” component, so an error appeared on the field:
| Form error |
|---|
 |
After correcting the issue, the submit button can be pressed again - it is safe to repeat this process until the form is accepted.
Updating an entity
Required Permissions
- Registry Read
- Registry Write
Process
Updating an entity is a very similar process to registering an entity, except that the existing form details are pre-filled from the record.
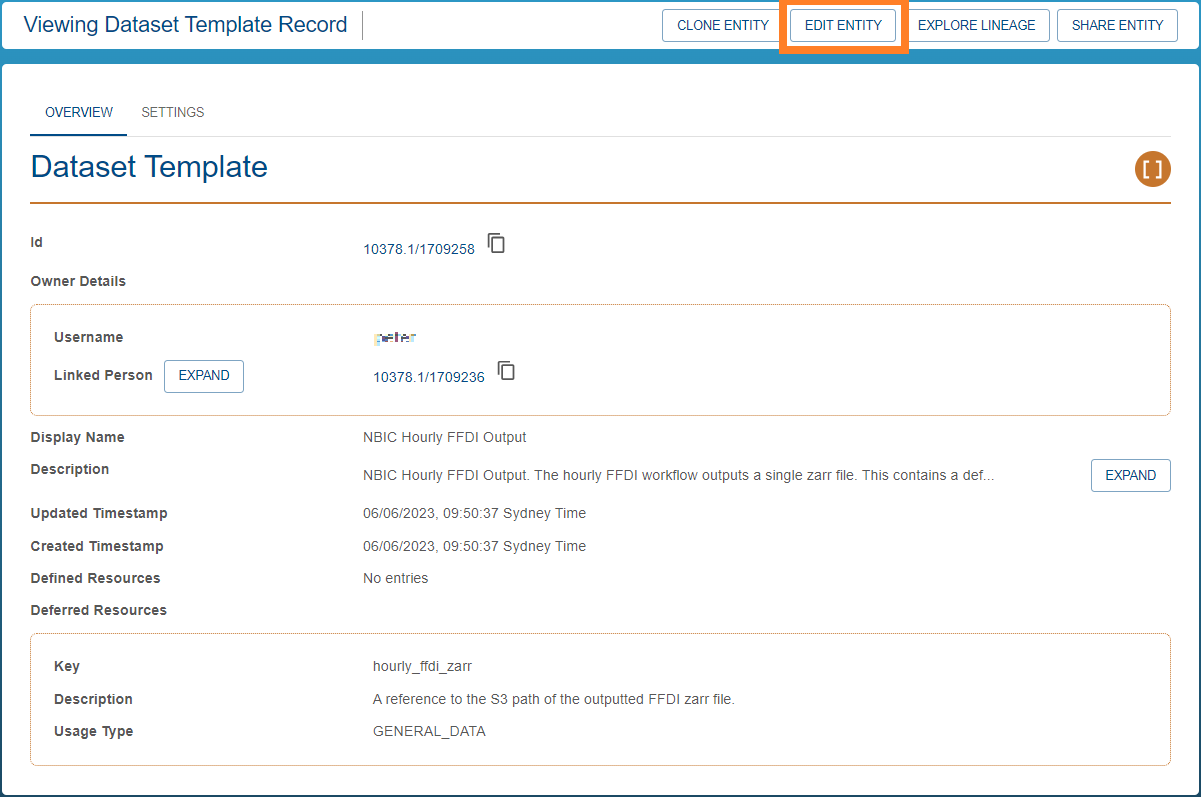
Start by navigating to the entity (see exploring the registry for more information). From the entity detailed view, you can select “Edit Entity” on the right hand side:
| Edit |
|---|
 |
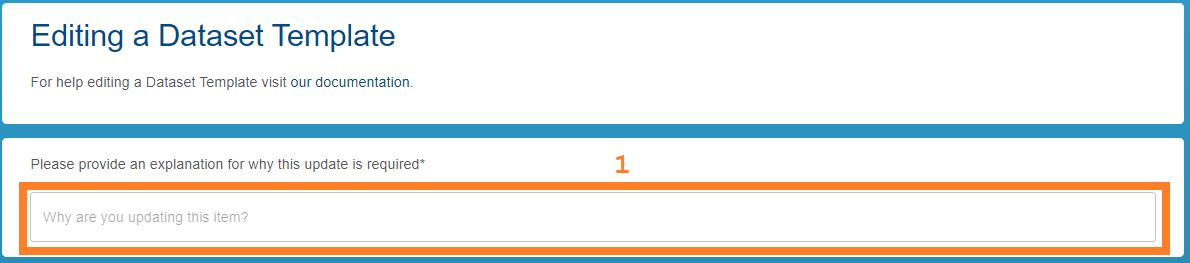
When updating a registered entity, you will need to provide a reason for performing the update. This reason is documented and helps to understand how a resource may have changed over time, and why. Enter your reason in the text field as highlighted below (1).
| Updating reason |
|---|
 |
Then make the desired changes to the record on the resulting form, clicking submit when you are ready to publish the updates. For help completing these forms, see registering an entity above.
If Submit button is greyed and you cannot submit then please double check you have entered a reason for the update, as mentioned above.
| No reason provided |
|---|
 |